Do you have 35mm negatives with no photographs?
Now easily convert them to the digital age with your digital
camera and ShotCopy.
Step One:
Pick a good negative
You should be able to hold the negative
above a white reflective background and see a lot of sharp detail in the
negative. The more detail you see the better photograph will result.
If it's under exposed you will see a lot of light areas with no detail.
If it's over exposed you will see a lot of areas with no detail.
The ideal negative is a negative where you can see a lot of detail.
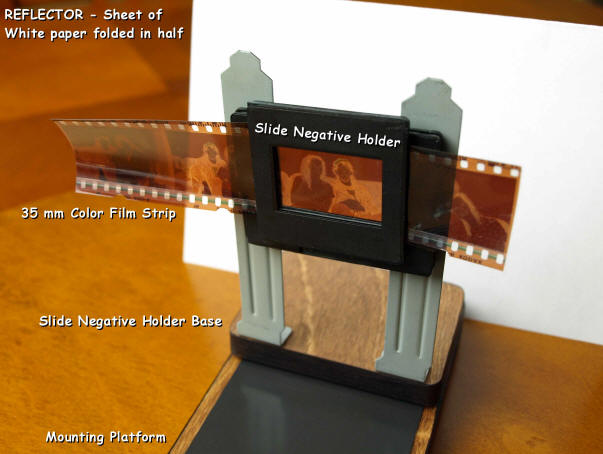
Actual 35mm color
negative to be copied inserted into the ShotCopySlide/Negative Holder
Step Two -
Negative Orientation
Insert the 35mm negative
into the ShotCopy Slide/Negative holder so the duller of the two sides
faces the camera. This insures that the emulsion side of the negative
is in the orientation
as it was taken so images to come out backwards.
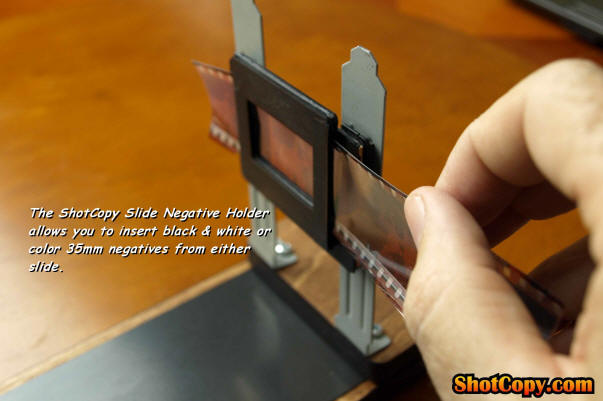
Holder allows copying of
typical 35mm negative strip in 4 easy clicks of the shutter
Step Three -
Changing the Negative to a Positive
A lot of today's
digital cameras have the ability to change a negative to a positive
when shooting. You can also shoot the negative as a negative and use
your PC's photo editing software to convert it to a positive. You
might want to experiment to see which gives you the best results. This
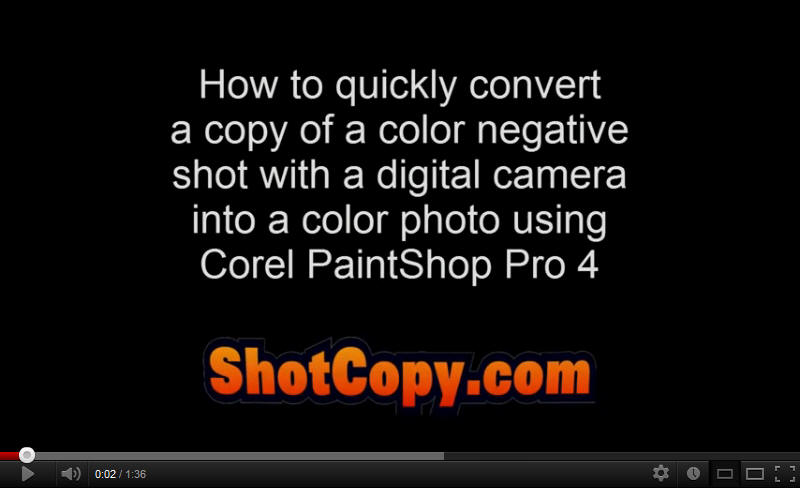
image was converted by photographing the negative as a negative with an
old
Sony Mavica
Digital camera then using PaintShop Pro to convert it to a
positive image.
For Cameras with
built in NegArt Feature
Photo Editing
Software
Negative to Positive
(Both Color and B&W)
Actual negative in
ShotCopy Slide Negative Holder
Click image above to play PaintShop
photo editing software demo
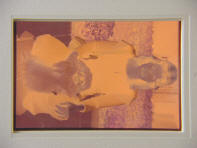
What color negative
looks like after switching to the camera's "Neg Art" while
still in holder.
Click image above to
play
GIMP photo editing software Demo
(GIMP is a FREE software program online)
How to Deal with
Reflections while copying negatives
With your photo
editing software rotate the image (in this case) to the portrait
position. Use your software features to adjust and balance brightness
and contrast; color, tint, saturation, remove dust spots; and crop
picture as desired. Then save it for posterity as a digital image. No
more fading or yellowing pictures. Now you can save and send it to
friends and family. Or how about a compellation of your photos
with a CD or DVD disk photo album which can be easily duplicated to
prevent loss? Way Cool.
Most photo editing software does a good job
converting b/w negatives to positives; while color negatives can cause
a lot of pain and suffering if you don't use a better photo editing
software package that are out there. Corel PaintShop Pro happens to be
one of them.
If you have a photo editing software program
that's easy to use and gets great results, let us know at:
color_negs@shotcopy.com